Why learn this from Hoku Props
This guide comes from the same practical workflow taught in Hoku Props workshops across the convention circuit. It is built around real world prop making, cosplay, finishing, trophies, weathering, and presentation work, not just hobby theory.
The focus here is not fancy gear or gatekeeping. It is understanding the system, building good habits, and getting clean results with tools that are reliable and repeatable.
- Built for beginners, but useful well past the beginner stage
- Grounded in real prop and finishing workflows
- Focused on control, surface quality, and maintenance
What Is Airbrushing?
An airbrush is a small precision spray tool that uses compressed air to break liquid paint into a fine mist. Instead of dragging paint across a surface with bristles, you are laying down tiny droplets in controlled layers. That is why airbrushing is so useful for smooth coverage, soft fades, weathering, and detail work without brush strokes.
In prop work, that control matters a lot. It is what lets you build helmet fades, armor shadows, weathering, metallic effects, tinted clear parts, and subtle surface transitions that would be much harder to get with a brush.
How it works
At the front of the airbrush, fast moving air creates a low pressure zone that pulls paint forward from the cup and into the airstream. The paint gets broken into tiny droplets and sprayed onto the surface.
That is why pressure and paint consistency always matter together. If the paint is too thick, it does not atomize cleanly. If it is too thin, it can flood or bead. If pressure is wrong, the whole balance falls apart. Once you understand that relationship, troubleshooting gets way easier.
Single action vs dual action
Single action airbrushes only control air with the trigger. Paint flow is set ahead of time. They are fine for broad coverage, but they do not give you much control while spraying.
Dual action airbrushes control both air and paint with the trigger. Press down for air, then pull back for paint. That is what gives you variable control for shading, gradients, detail work, and cleaner starts and stops. It is the standard for serious airbrush work.
Feed types
- Gravity feed, top cup. Easiest for most people to learn, needs less pressure, gives the best control.
- Siphon feed, bottom bottle. Useful for volume and fast bottle swaps, but usually wants more pressure and better reduction.
- Side feed, rotating cup. Great when you want a clear sightline or need to paint awkward angles like helmet interiors or large prop surfaces.
Start here
If you are new, focus on these four ideas first. They solve most beginner problems.
- Air first, paint second, paint off, air off. This prevents dry tip, spitting, and random blobs.
- Set pressure while air is flowing. Your real working pressure is your active PSI, not the number on the gauge at rest.
- Reduce paint until it drips cleanly. If it strings, it is too thick. If it beads like water, it is too thin.
- Build coverage in light passes. Dust coats first, then controlled layering.
Recommended starter Setup
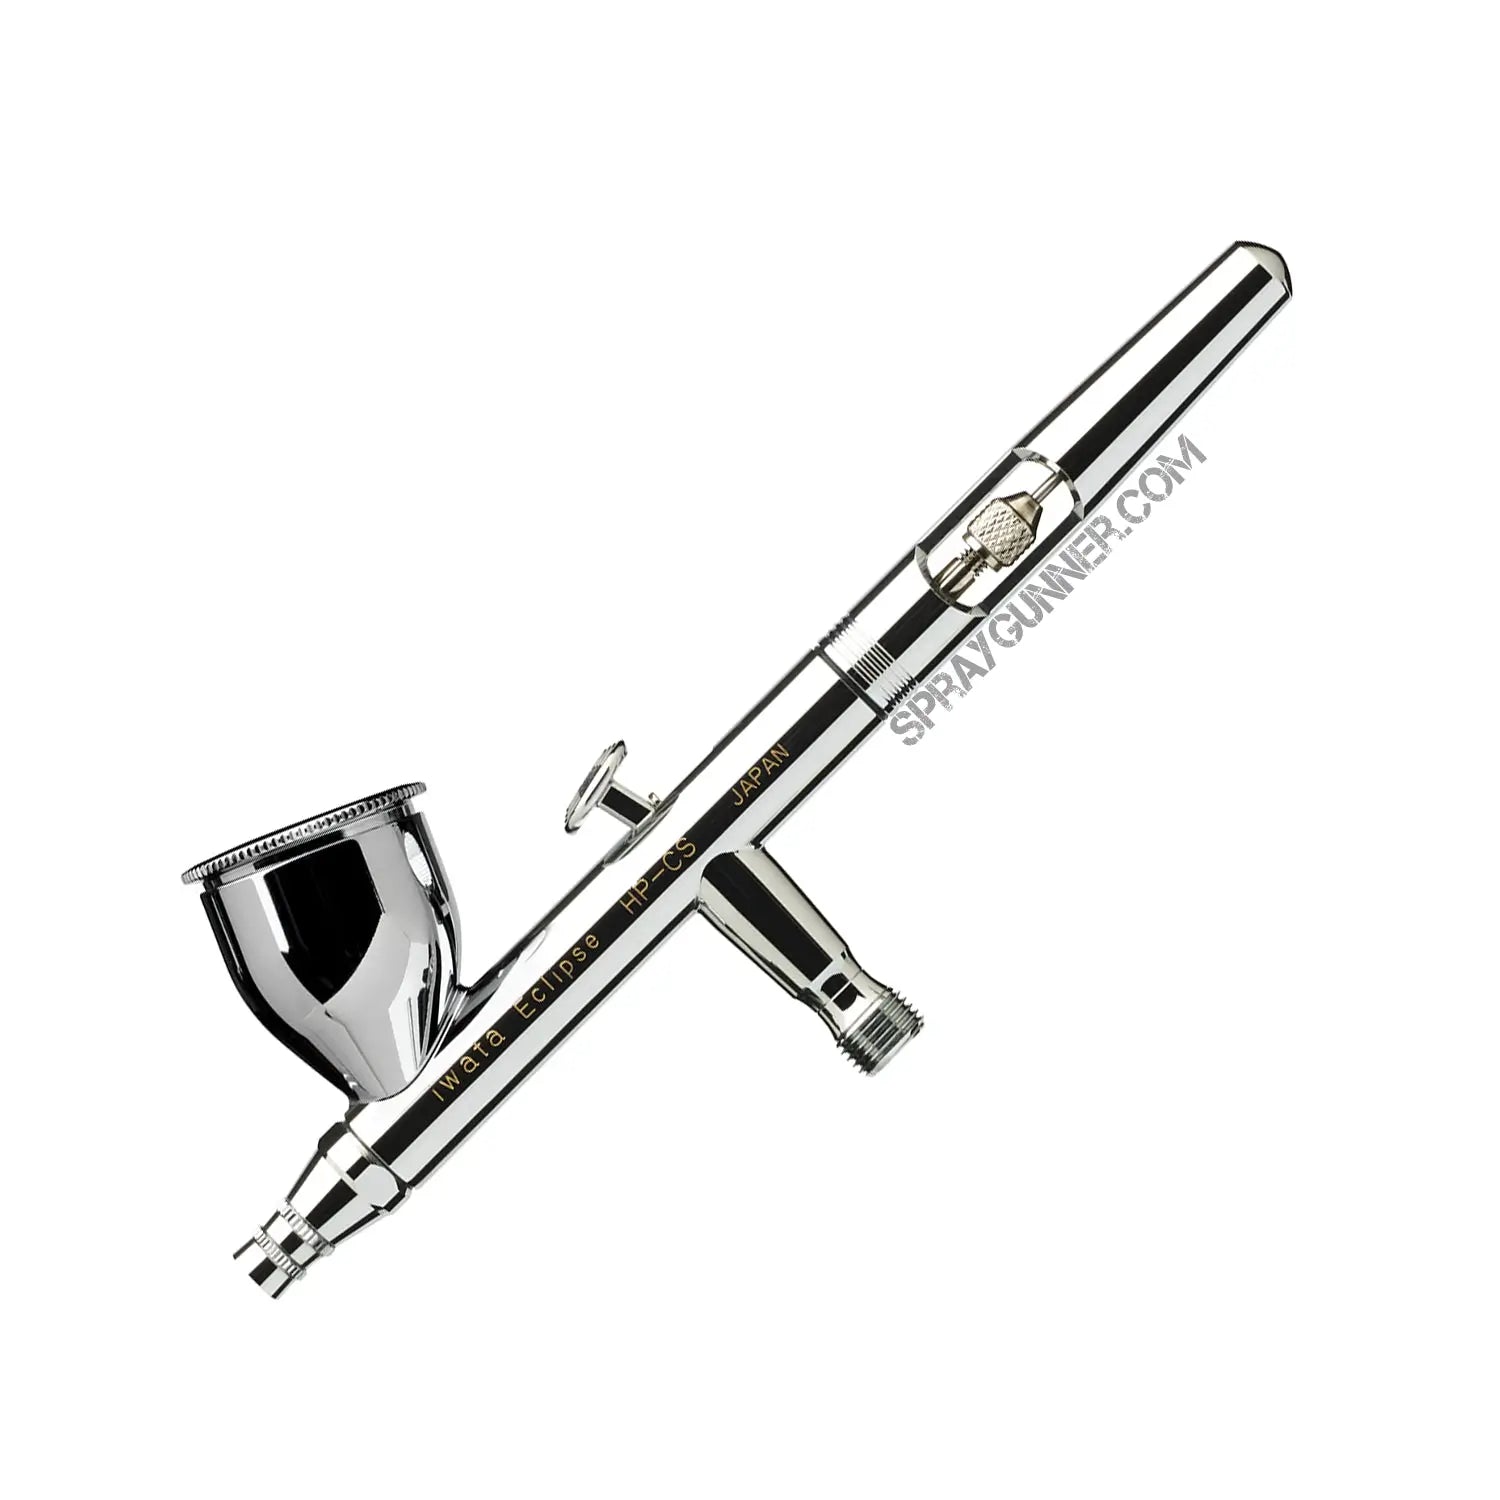
Airbrush, Iwata Eclipse HP CS
The Eclipse is the airbrush we recommend most often as a starting point because it is dependable, easy to maintain, and forgiving enough to learn on without fighting constant clogs.
- Reliable and repairable
- Great balance of control and coverage
- Compression fit front end, which keeps sealing simple when treated correctly
- Replacement parts are easy to get
- A long term tool, not a throwaway beginner purchase
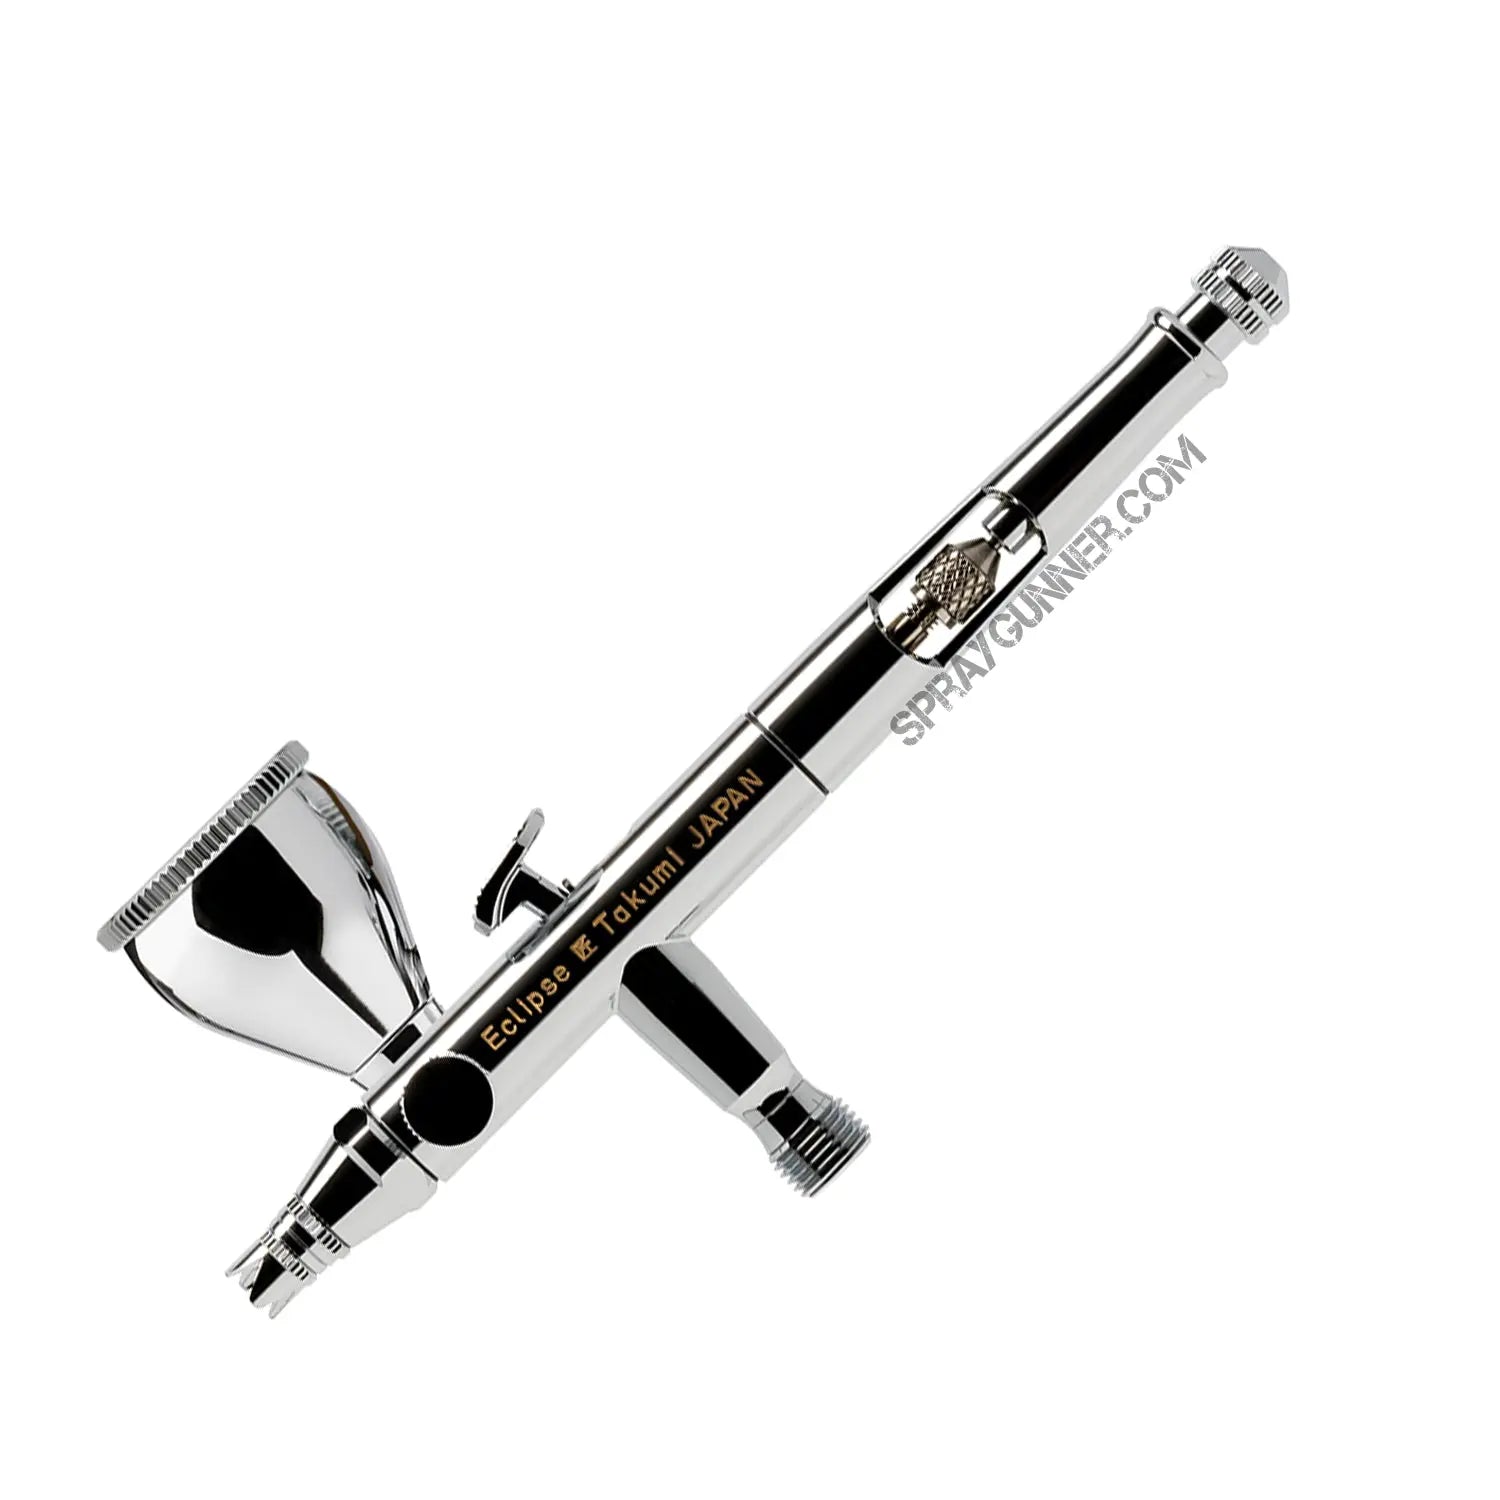
Optional upgrade, Iwata Eclipse Takumi
The Takumi is a great choice if you already know you like side feed airbrushes, want better visibility, or regularly paint awkward angles like helmet undersides, armor edges, and deep forms.
- Side feed cup for better sightline
- Useful for unusual angles
- Rear stop can help limit trigger travel for repeatable output
- Best for people who already know they want this format
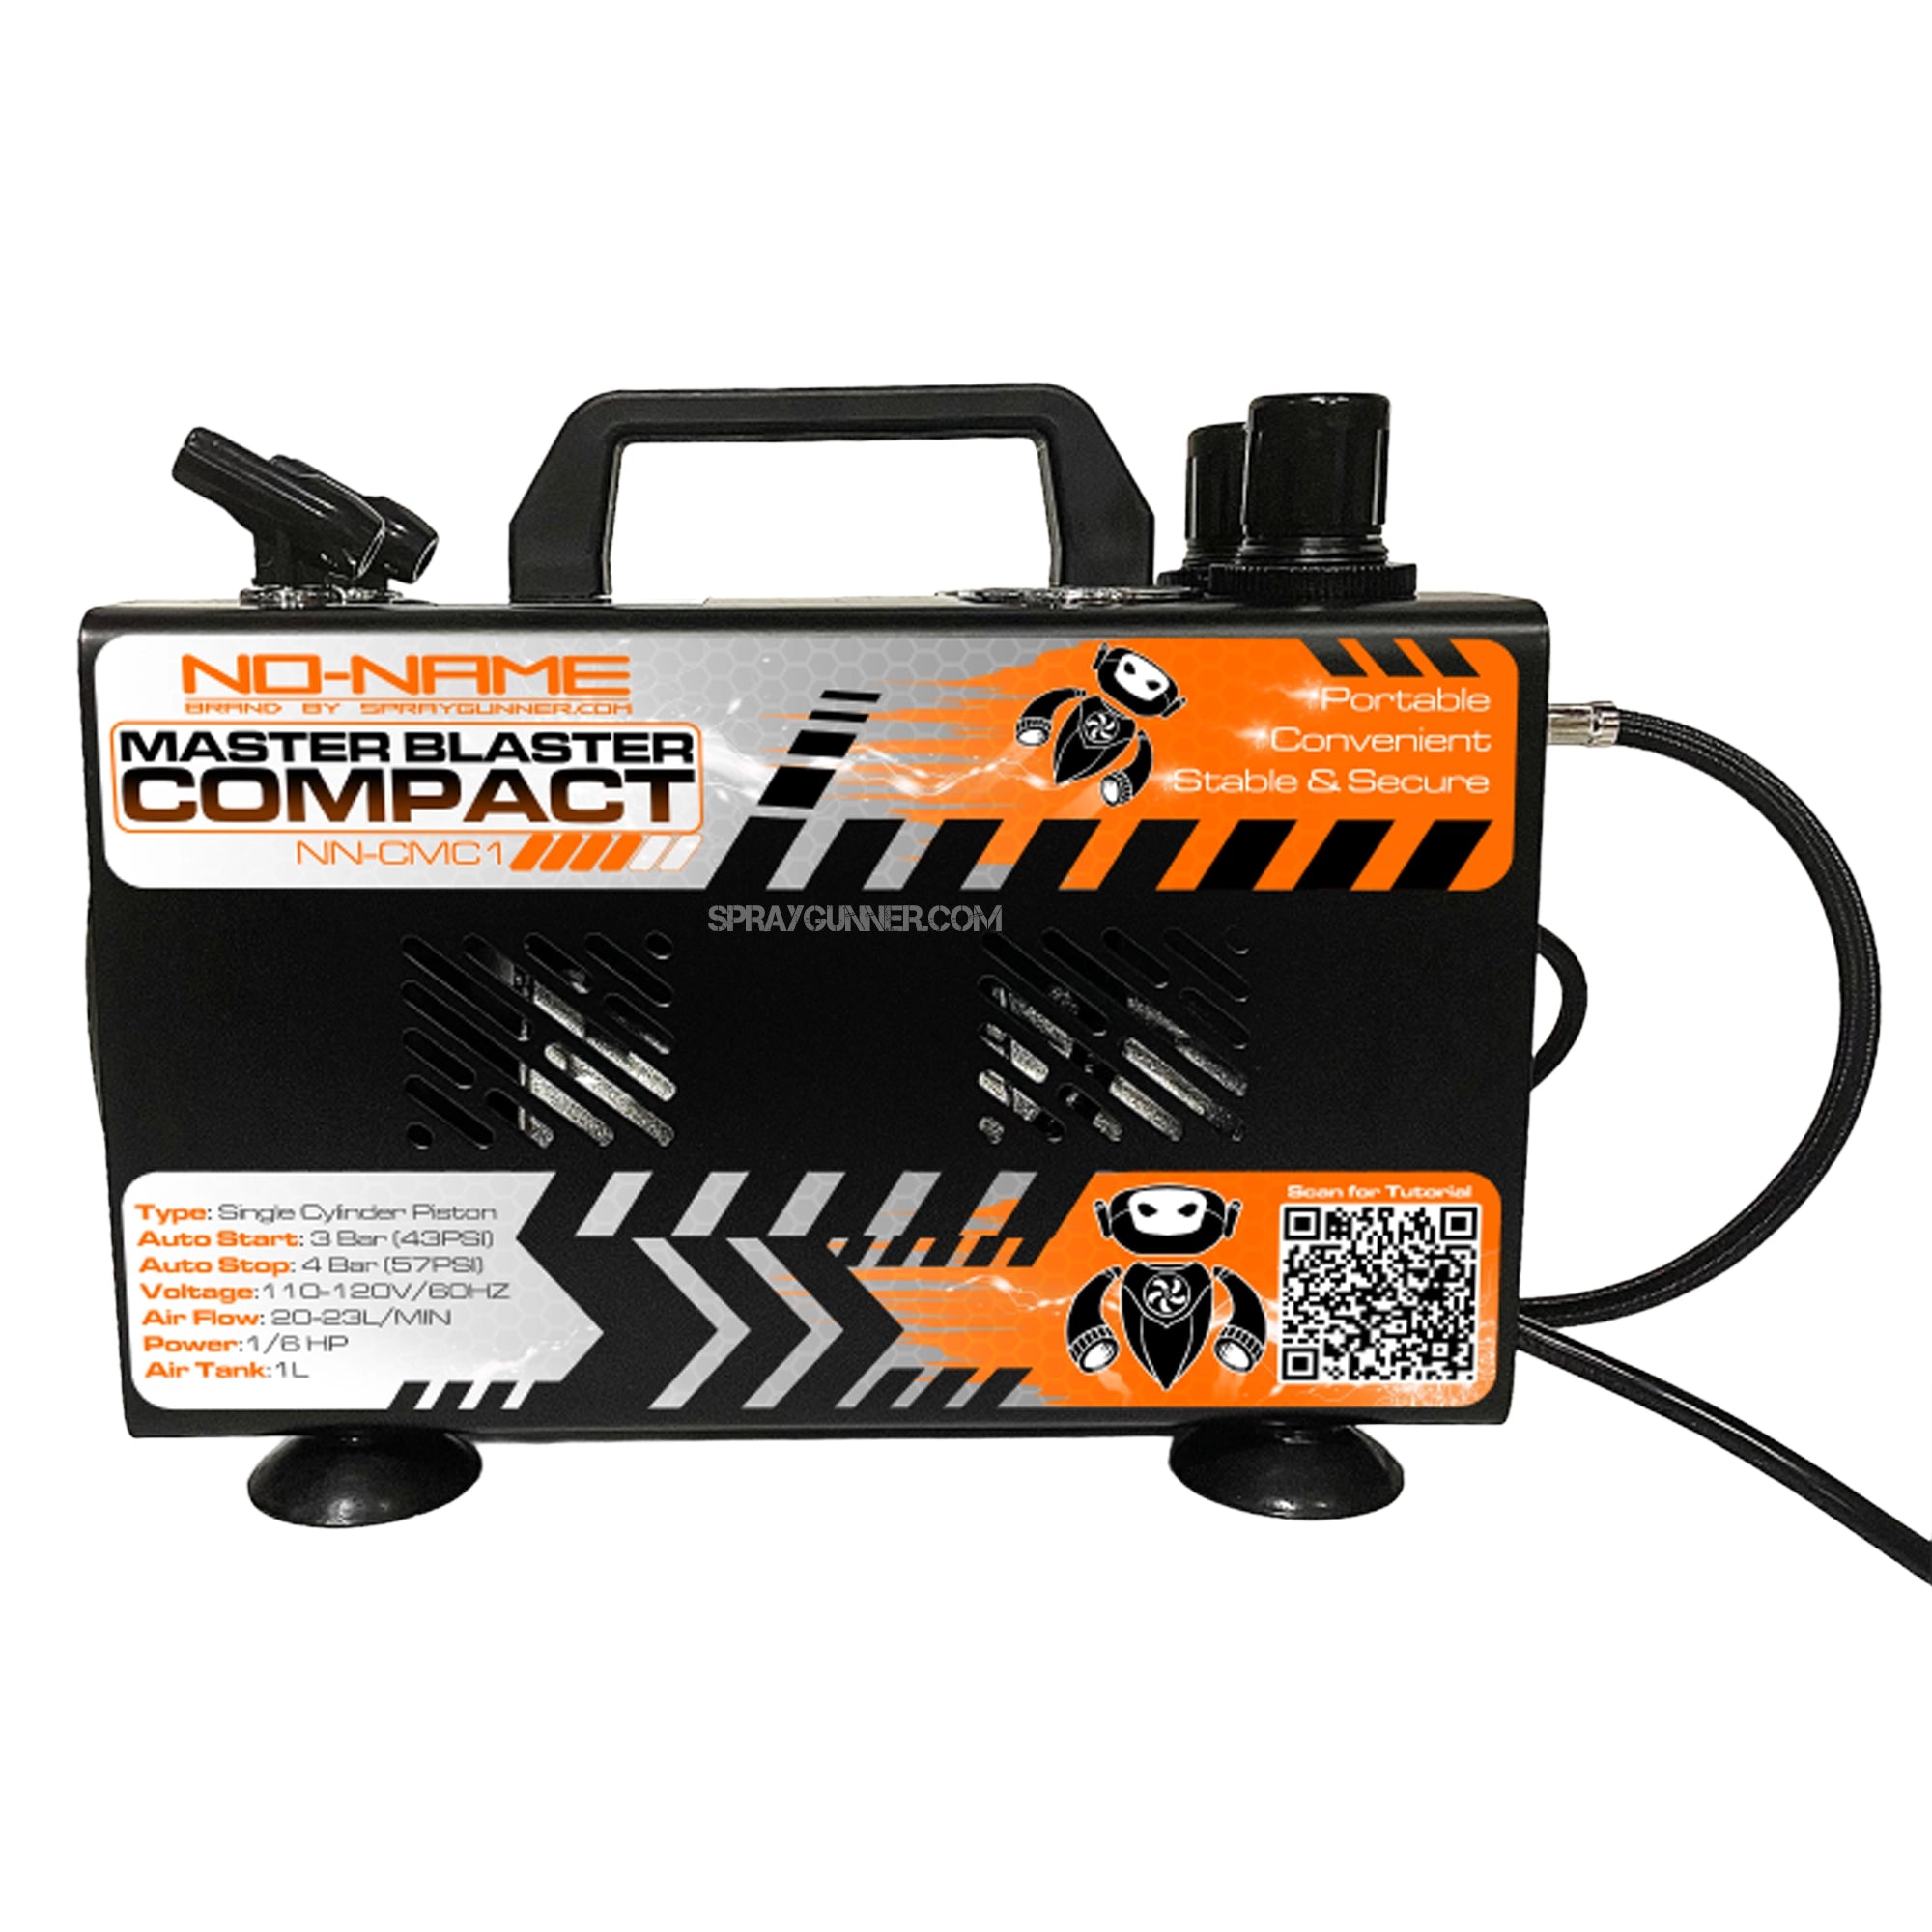
Compressor
A good compressor matters more than most people think. You want stable pressure, a regulator, and a moisture trap. Tiny cordless units are fine for learning and travel, but a tanked compressor is a much better everyday setup.
- Portable mini compressors are okay for entry level use
- Tanked compressors are the best general recommendation
- Moisture trap is important
- MAC valves are useful when you want quick fine tuning at the brush
Pressure, PSI, and why beginners get tricked by the gauge
Set active PSI, not resting PSI
One of the biggest beginner mistakes is setting pressure while the airbrush is idle. That number is misleading. Always press down for air and set your regulator while air is flowing. That is your active PSI, and it is the number that actually matters.
- 20 to 30 PSI active is the general working range for most reduced paints
- Start around 20 to 25 PSI active for general practice
- Go higher only when needed if paint is clearly under atomizing
- Drop lower for fine detail work when using properly reduced paint and a smaller setup
What wrong pressure looks like
- Too high: dusty finish, rough texture, overspray floating in the air, paint drying before it lands, weaker adhesion
- Too low: speckled spray, weak atomization, spitting, inconsistent pattern
In plain terms, if you can see paint fog hanging in the room, something is off. Usually the pressure is too high, the paint is over atomizing, or both.
Paint reduction, the drip test, and what the paint should actually look like
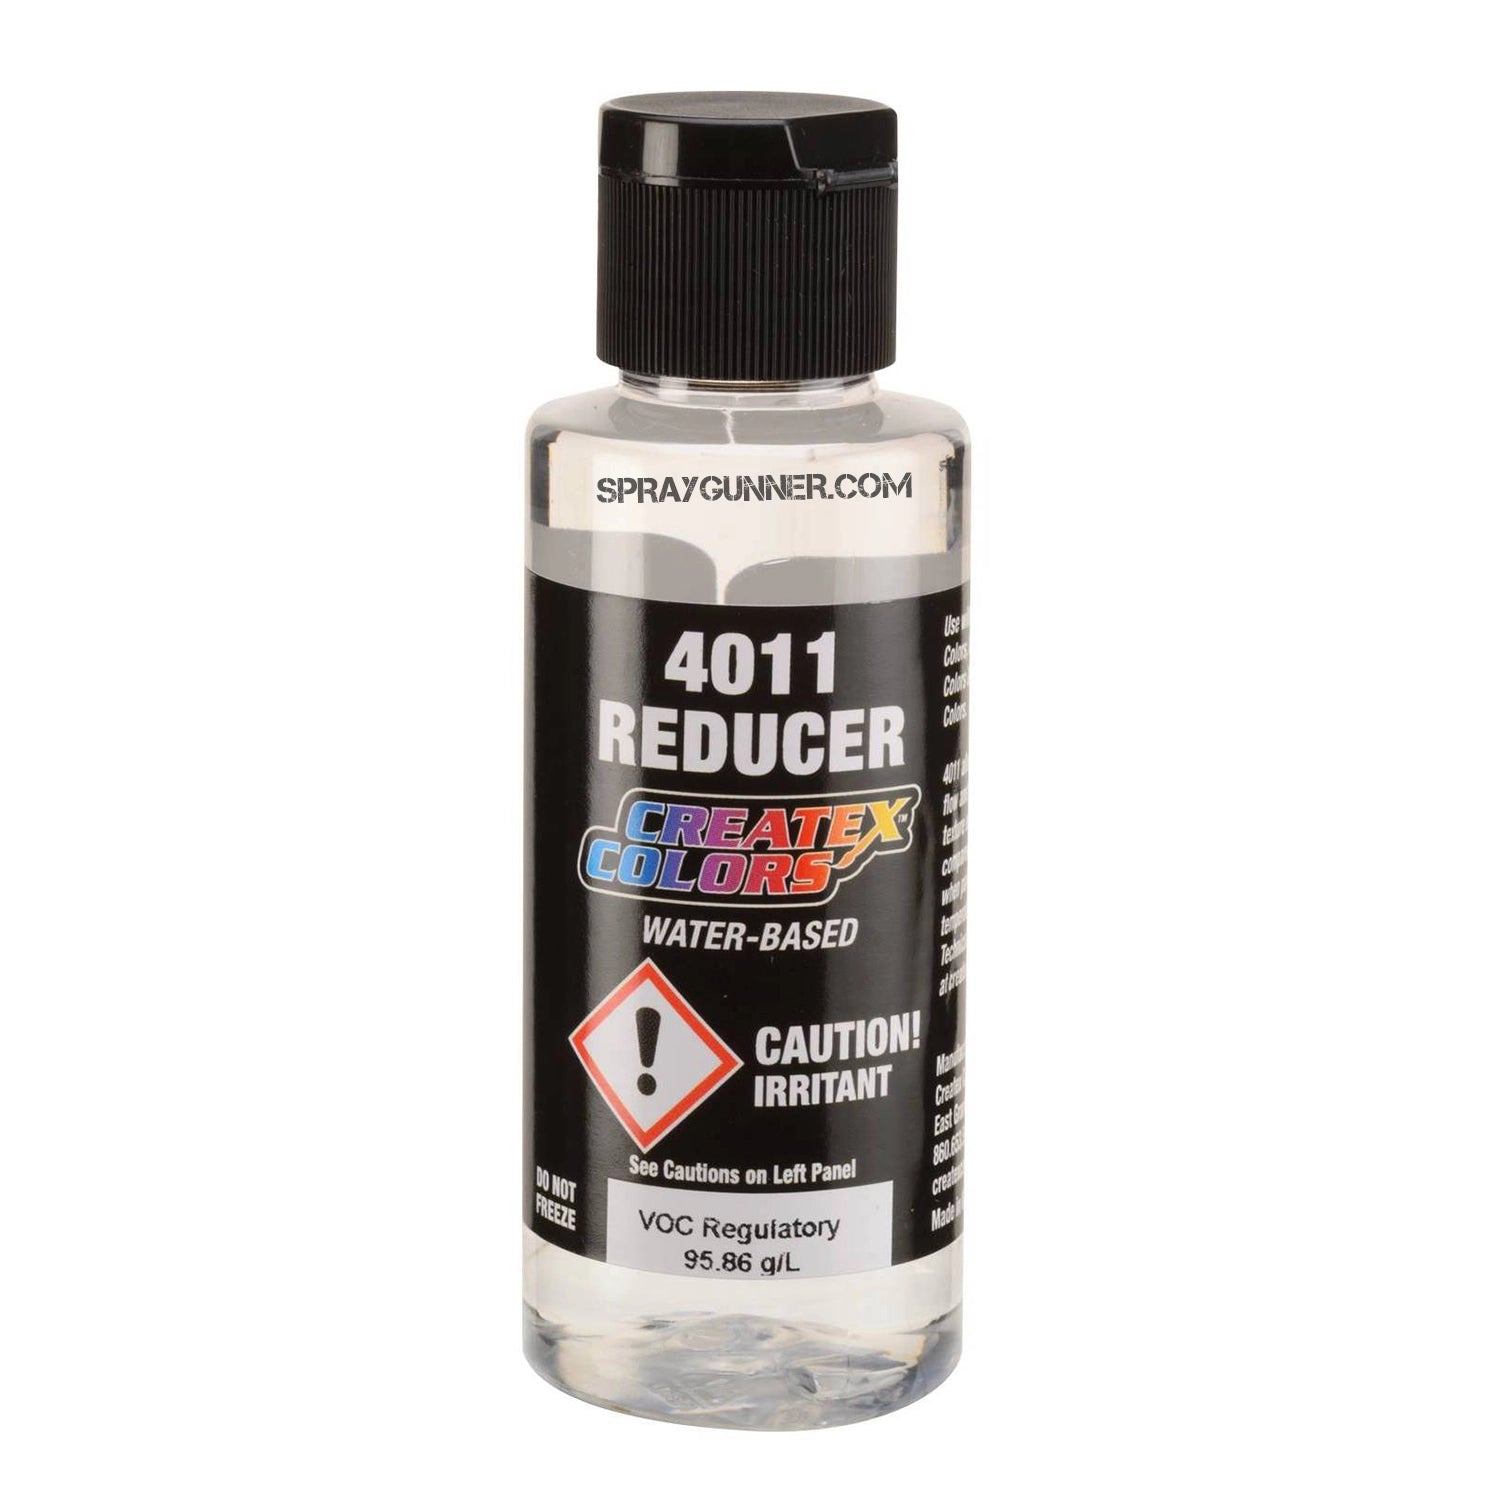
Use reducer on purpose
Do not trust labels like “airbrush ready” blindly. Temperature, humidity, pigment load, and even the color itself all change how paint behaves.
Recommended reducer approach
- Createx 4011 is the normal first choice for most situations
- Createx 4021 is for very hot, very dry conditions when you need a slower dry time
- Start around 10 to 20 percent reducer, then adjust as needed
The drip test
Mix your paint, lift the stir stick, and watch what it does.
- If it strings or clings, it is too thick
- If it drips cleanly, you are in the right zone
- If it beads up like water, it is over reduced
This is one of the most useful habits in the whole workflow. Learn this and your success rate jumps fast.
Mixing matters more than people think
Createx pigments settle hard. Shaking is often not enough. If your paint is not fully re suspended, you are feeding clumps into a precision tool and then wondering why it clogs.
- Agitate thoroughly
- Use a mesh strainer if needed
- Clean bottle tips and lids
- Do not dump half mixed paint straight into the cup
The core spraying habits
Rule one, air first
- Press down for air
- Pull back for paint
- Push forward to stop paint
- Release to stop air
If you stop paint and air together, you invite dry tip and spatter.
Distance and trigger pull work together
- Close, very little pull: finer detail, tighter control
- Moderate distance, moderate pull: general use and smooth coats
- Farther away, broader pull: softer fades and feathering
Build coats instead of flooding the surface
Good airbrushing usually looks restrained, not aggressive. Start with a dust coat. Give it a moment to grab. Then build with light passes. Watch the sheen on the surface instead of chasing full color in one hit.
- Dust coat first
- Wait briefly
- Layer 2 to 4 light passes
- Let the surface tell you when it is even
Move from the arm, not just the wrist
On curved parts, your distance changes if you flick from the wrist. That means uneven paint. Move fr
Watch this technique in action
This video from Hoku Props covers airbrush basics and what to expect when getting started with the workflow.
Watch on YouTube: Airbrushing with Hoku Props
om the arm and keep your relationship to the surface more consistent.
Surface prep and adhesion
A lot of paint problems are really surface problems. If a surface is too slick, contaminated, or too glossy, the paint may bead, separate, or give you orange peel.
- Scuff smooth surfaces lightly when appropriate
- Clean oils and contamination before painting
- Use light dust coats first on slick surfaces
- For clear parts, use the right prep path so you keep the effect you want
For hard smooth materials, micro texture helps. For clear or special effect pieces, the prep path may be different so you preserve clarity or reflectivity.
Color changes and quick cleaning between paints
The backflow method
This is the practical color change method we teach in class because it is fast, effective, and realistic for actual workflow.
- Pour out leftover paint
- Wipe the cup
- Add a little water
- Lightly backflow by partially covering the tip while air is on
- Dump dirty water
- Repeat until mostly clear
- Finish with reducer or cleaner through the brush
The goal is not violence. Gentle bubbling is enough. Full blockage is unnecessary and not helpful.
Maintenance and deep cleaning
What to use
- Q tips
- Soft pipe cleaners
- Silicone toothpicks
- Isopropyl alcohol
- Reducer
- Createx Restorer only when truly needed
What to avoid
- Metal brushes inside the body
- Rough tools that scratch plated surfaces
- Soaking the entire airbrush
- Forcing the needle through resistance
- Over tightening the front end
Deep cleaning logic
Most maintenance is simple. Clean the cup, clean the needle carefully, clear the passages gently, and reassemble correctly. Problems usually come from rushing, forcing parts, or using the wrong tools.
Needle care
The needle is delicate. Clean it by running it along a paper towel from base to tip. Avoid putting any pressure on the tip because a bent needle tip known as a hooked needle will cause sputtering and unintended paint application.
Watch the cleaning process
This video walks through how to a Badger Patriot 105 airbrush after a session. Cleaning is one of the most skipped steps and one of the most important habits to build.
Watch on YouTube: How To Clean Your Airbrush
Troubleshooting common problems
- Spitting: usually dry tip, paint buildup on the needle, or bad trigger discipline
- Bubbling in the cup: front end sealing issue, loose assembly, or damaged mating surface
- No paint flow: loose needle chuck, clog, wrong trigger assembly, or no air supply
- Dusty finish: pressure too high, paint drying mid air, or poor distance control
- Beading on the surface: over reduced paint, contamination, or poor surface prep
- Frequent clogging: paint not mixed properly, poor reduction, dried paint on the tip, or neglected cleaning
Safety and PPE
Even when the paint is water based, atomized particulates still matter. Safety is not optional.
- Wear a respirator or particulate mask appropriate to the material
- Use eye protection
- Wear gloves if needed
- Protect your clothes, Createx will absolutely stain fabric
- Ventilate the room
- If overspray is hanging in the air, stop and fix the environment
Some advanced products, especially chrome systems and certain metallic materials, demand more caution.
Advanced techniques taught in Hoku Props workshops
Weathering and aging
Airbrushing is not just for clean base coats. It is one of the fastest ways to create age, grime, depth, wear, and realism.
- Use light translucent layers to build age
- Combine additive and subtractive weathering
- Focus on where wear would actually happen
- Use sheen intentionally, not just color
Watch weathering in action
This video demonstrates Createx weathering techniques on prop surfaces, including faux bone and aging effects used in real prop work.
Watch on YouTube: Createx Faux Bone Finishes and Weathering
Metallics
Metallic paints are heavily influenced by prep, base color, and spray angle. They need good agitation and patient application.
- Gold over white reads brighter
- Gold over black shifts more brass like
- Silver usually benefits from a darker base
- Spray from multiple angles so the flake lays evenly
Shop ChromaAir Silver | Shop ChromaAir Gold
Quicksilver Chrome
Chrome is a discipline problem more than a gear problem. It wants a glossy black base and extremely restrained application. You feather it on in very light coats so the particles can lay down correctly.
- Glossy black base matters
- Use tiny amounts
- Let coats flash off
- Do not flood it
Candy color systems
Candy colors are transparent dyes. They tint what is underneath rather than covering it. That makes them perfect for resin gems, visor tinting, fantasy finishes, and colored metallic effects.
- Use over reflective and metallic base colors
- Great for clear parts and gem effects
What this is useful for in real prop work
- Helmet fades and edge shadows
- Armor panels and soft transitions
- Bone, horn, wood, and aged material effects
- Resin gems and translucent details
- Weathered fabrics and leather
- Trophies, awards, and presentation finishes
- Metallic and chrome effects that look far more expensive than they are
Quick FAQ
What PSI should I start at?
Start in the 20 to 25 PSI active range with properly reduced paint, then adjust based on what the spray is telling you.
Why is my airbrush bubbling into the cup?
That usually means you have a front end sealing issue, a loose assembly, or a damaged mating surface.
Why is it spitting?
Most often, dry tip, paint buildup, poor trigger discipline, or a damaged needle.
Why does my paint keep clogging?
Usually bad mixing, paint that is too thick, dried paint on the tip, or poor cleanup habits.
Do I need a better airbrush?
Sometimes, but often the real fix is mixing, reduction, pressure, and cleaning discipline.
Can I use this on EVA foam, fabric, leather, and props?
Yes, with the right prep and workflow. That is one of the strengths of the Createx system.
Recommended supplies
- Createx Wicked Opaque Primary Set
- Wicked Primary Set
- Wicked Opaque White
- Wicked Opaque Black
- UVLS Clear Sampler Set
- 4050 Gloss UVLS Clear
- 4051 Satin UVLS Clear
- 4052 Matte UVLS Clear
- Braided airbrush hose
- SharpenAir tool
- Soft pipe cleaners
- Bulk soft bristle pipe cleaners
-
More tutorials from Hoku Props
The YouTube channel regularly shares prop making techniques, tool breakdowns, and workshop demonstrations. If you want to keep learning beyond this guide, the channel is the best place to follow along.
Visit the Hoku Props YouTube channel
/B00AJVNY08?ref=fed_asin_title&rh=1″>Precision masking tape, quarter inch
- Precision masking tape, two inch
Learn this in person
This page reflects the same practical workflow taught in Hoku Props workshops. If you want hands on help with setup, trigger control, reduction, maintenance, weathering, metallics, chrome, or candy systems, keep an eye out for future classes and convention appearances.
Final note from Hoku Props
Airbrushing gets a lot easier once you stop treating it like magic and start treating it like a system. Good paint prep, active PSI, trigger discipline, light passes, and simple maintenance solve most problems before they start.
If you want to go deeper, future Hoku Props workshops will keep expanding on maintenance, weathering, metallic systems, chrome, candy color effects, and prop focused finishing workflows.